This is a Prototype Product
Your feedback matters! This Door Lining Jig is currently in the prototype stage. The more interest and feedback we receive from the carpentry community, the more likely we are to fully develop and manufacture this tool. Share your thoughts below and let us know if this would be valuable for your work!
2
People Have Expressed Interest
See the Door Lining Jig in Action
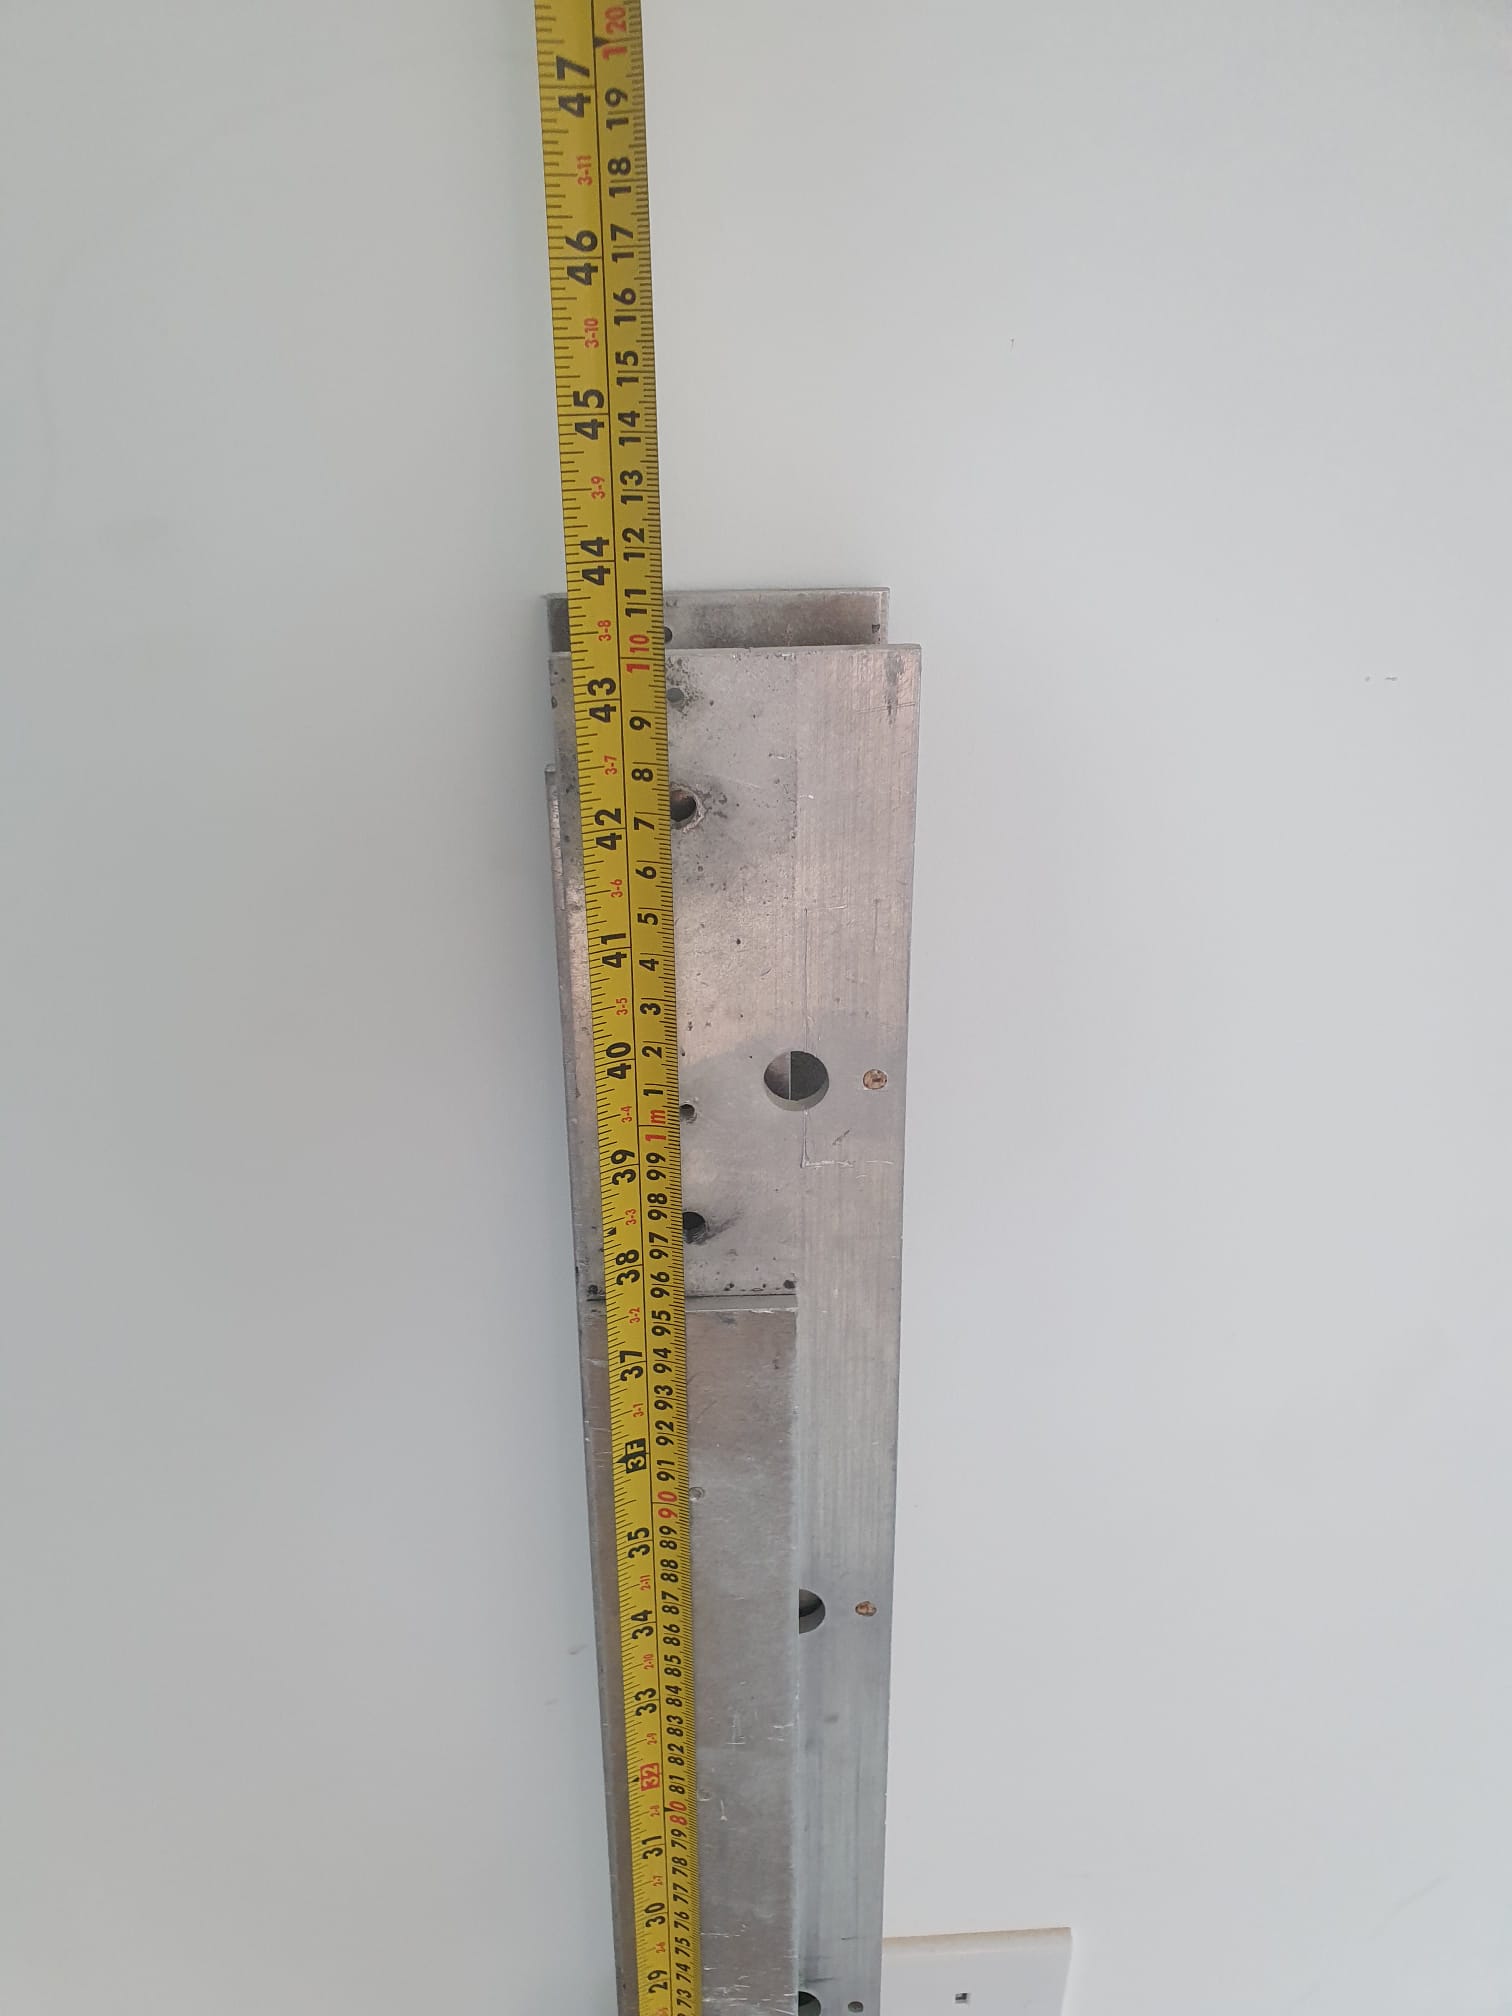
Product Gallery
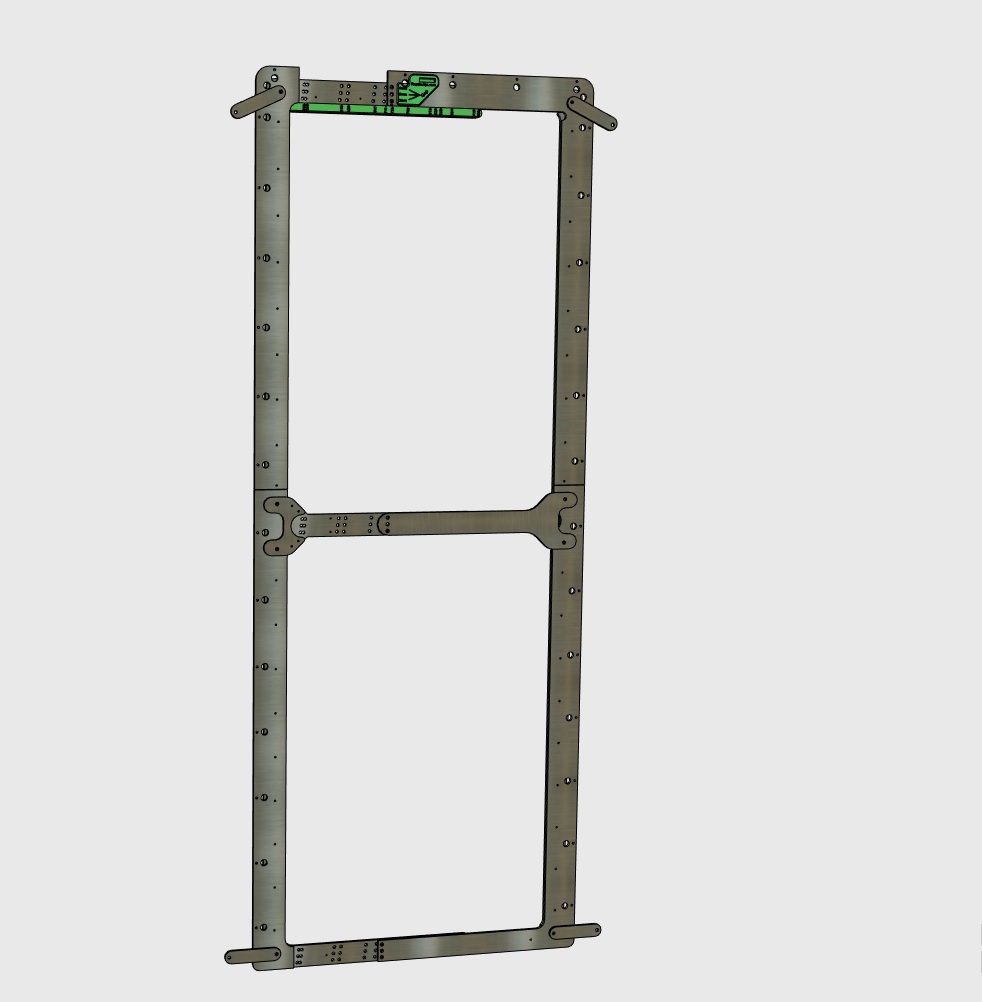
Door Lining Jig | Door Frame Jig | Door Template
Door Lining Jig | Door Frame Jig | Door Template
Door Lining Jig | Door Frame Jig | Door Template
Door Lining Jig | Door Frame Jig | Door Template
Door Lining Jig | Door Frame Jig | Door Template
Key Features & Benefits of Our Door Lining Jig and Door Frame Jig
- Precision Fit: Exact margins around the door (2mm, 3mm, or 4mm)
- Quick Installation: Complete installations in under 10 minutes
- Multiple Door Sizes: Supports 14 different door sizes
- Built-in Spirit Level: Easy alignment and adjustment
- Rotatable Arms: Flexible positioning for any door
- Professional Results: Consistent, high-quality finish
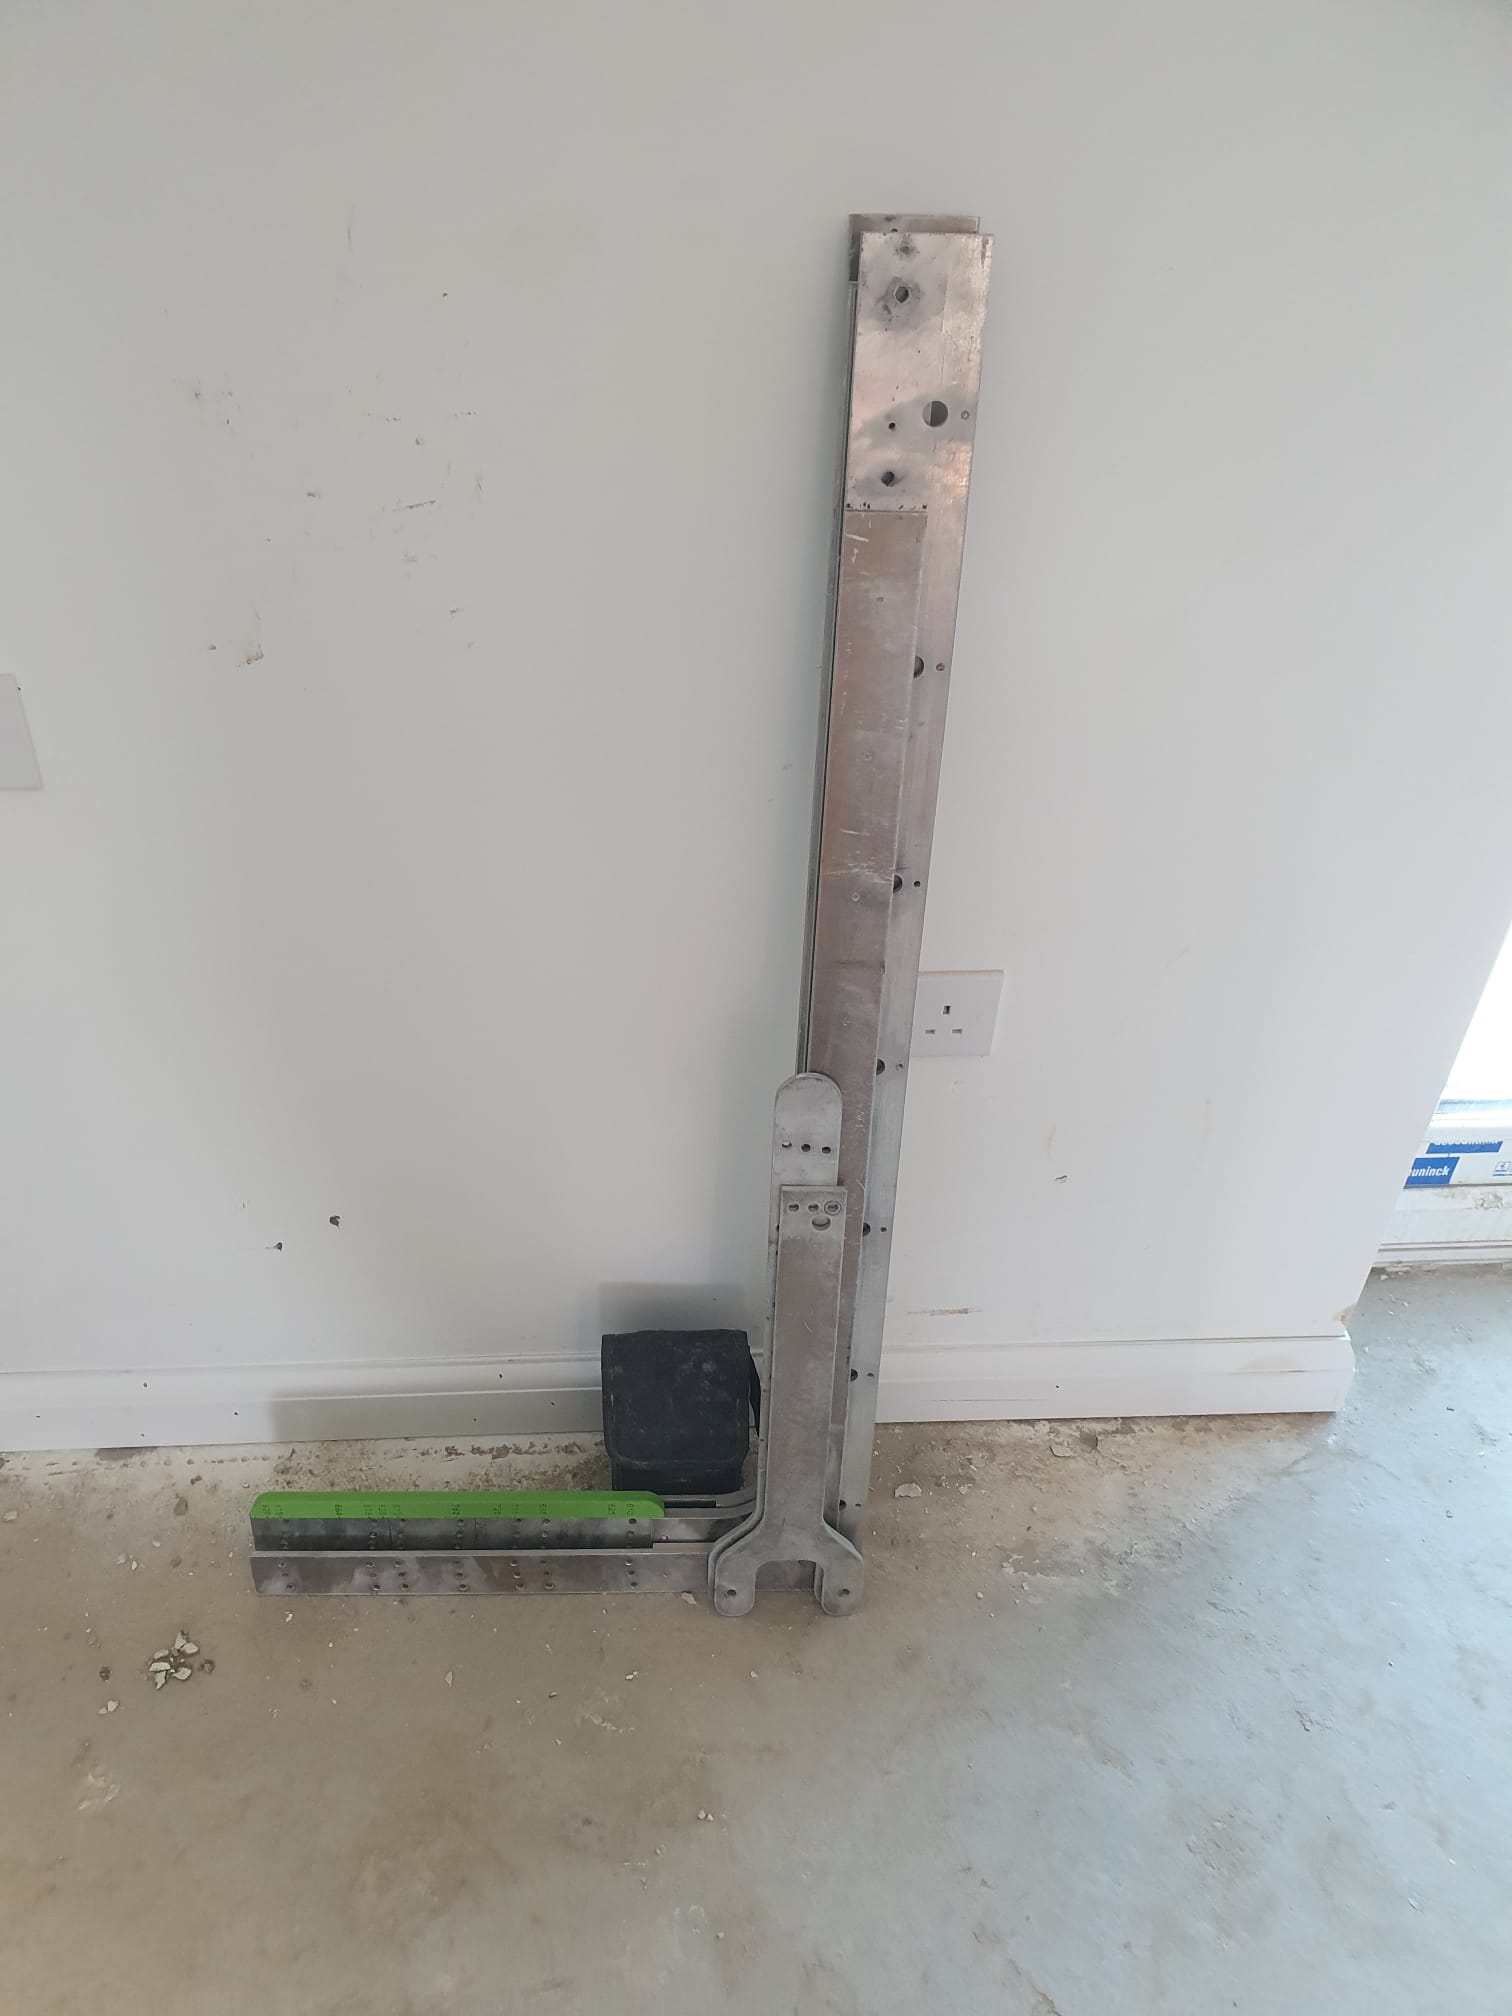
- Durable Construction: Built to last for repeated use
- Quick Assembly: Set up in less than one minute
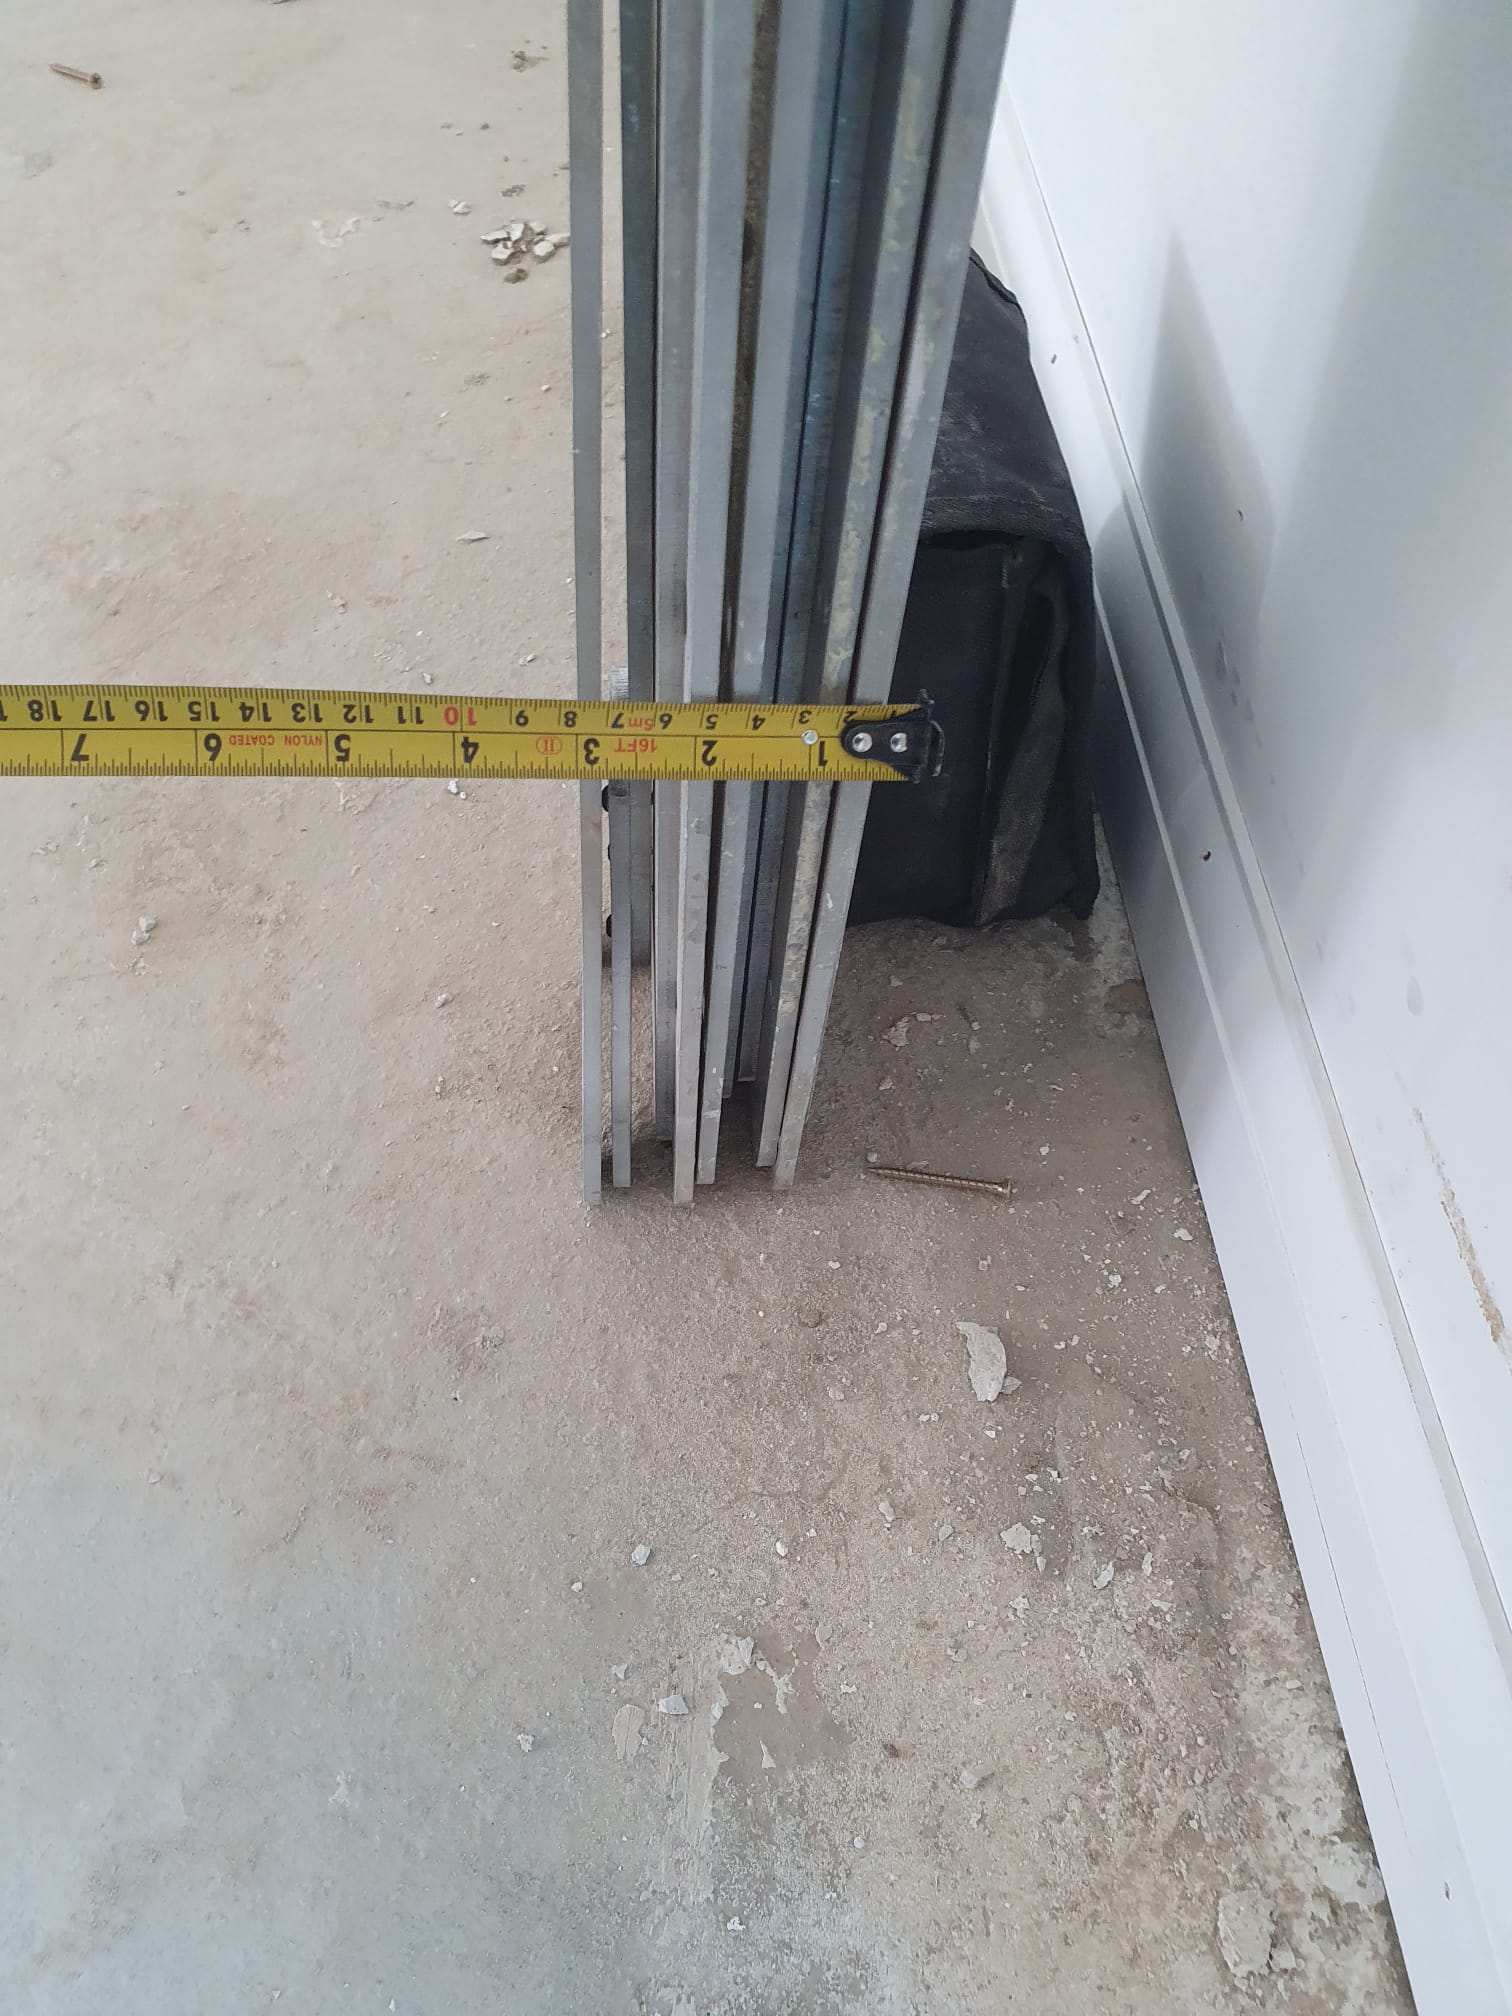
- Compact Storage: Small footprint when disassembled (1200mm x 600mm)
- Visual Confirmation: Check proper contact through inspection holes
- Fire Door Compatible: Suitable for standard and fire doors
- No Wedges Needed: Eliminates need for shims and wedges
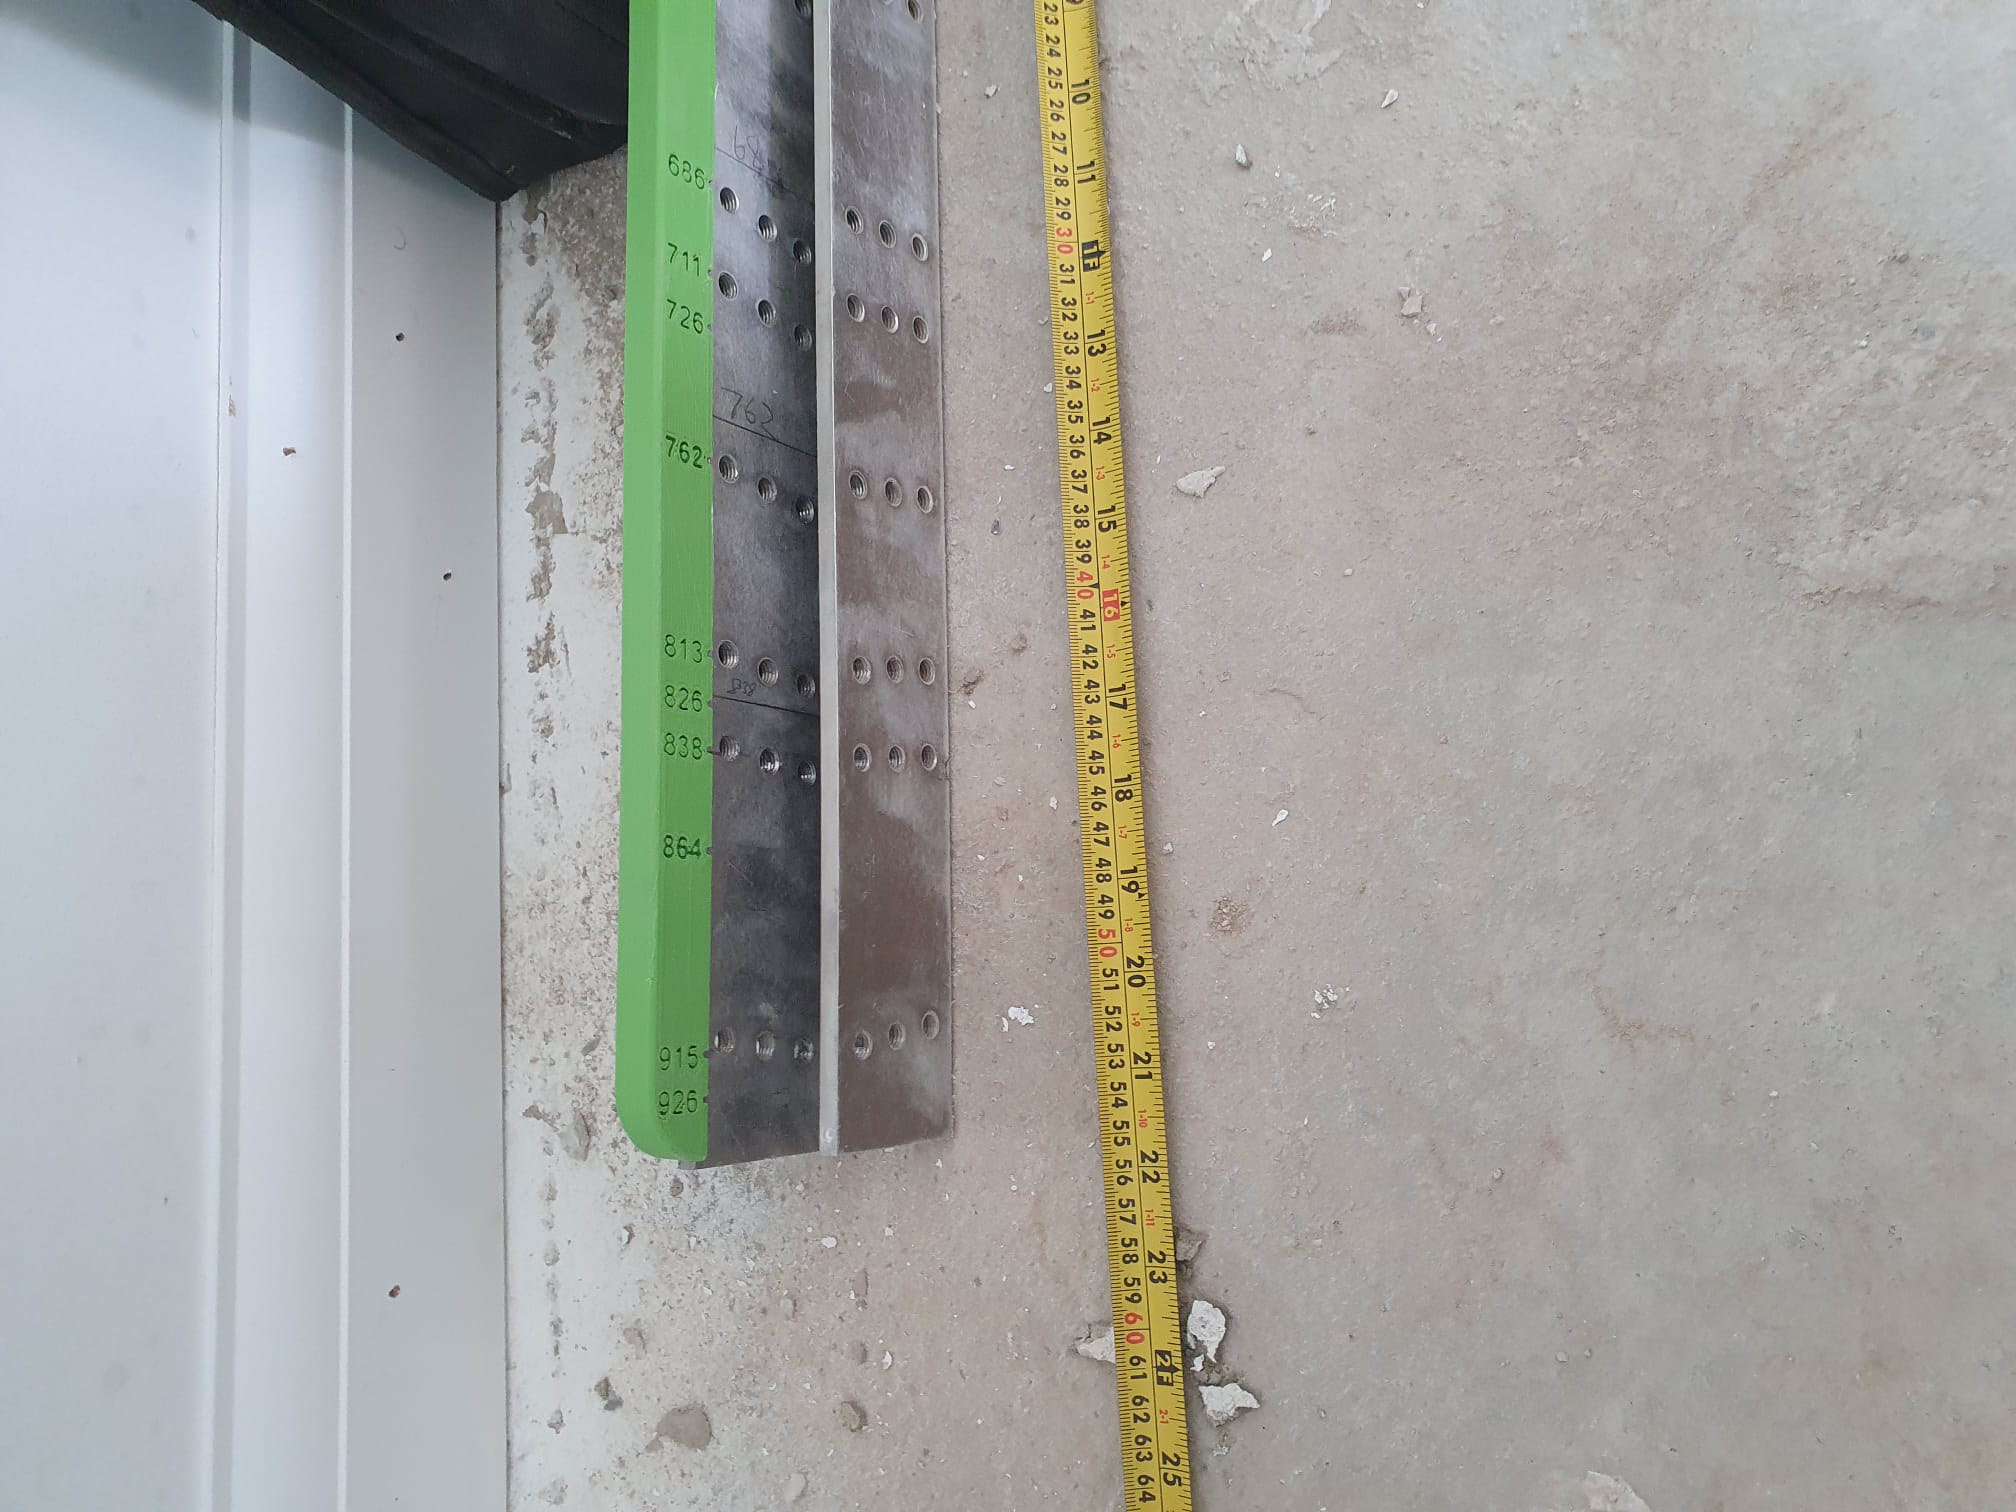
Supported Door Sizes for Door Lining Jig and Door Frame Jig
Our professional door lining jig and door frame jig accommodates the following door widths:
526mm
533mm
610mm
626mm
686mm
711mm
726mm
762mm
813mm
826mm
838mm
864mm
915mm
926mm
How to Use the Door Lining Jig and Door Frame Jig
- Prepare and align the door frame securely
- Select desired margin setting (2mm, 3mm, or 4mm)
- Position the jig around the door frame
- Secure the jig with screws
- Pre-drill holes (~10mm deep) on the door lining
- Install the door lining within the jig
- Insert and tighten screws in proper sequence
- Remove jig and inspect alignment
Express Your Interest & Share Your Thoughts
Help us bring this tool to market! Share your feedback, suggestions, or express your interest. Your message will be publicly visible to show community support.
Community Interest & Feedback (2)
Essex
May 10, 2026
plymouth
November 1, 2025